
When you need to connect individual devices to the local network or tighten a connector if it's loose, it becomes necessary to make a twisted pair patch cord. And with this task is quite realistic to cope independently.
Patch-cord is a piece of cable, which consists of twisted pairs of insulated conductors and crimped with connectors at both ends. Below we tell you how to crimp a twisted pair of connectors and how to crimp a connector without tools at home.
How to crimp a twisted pair using a tool
In order to crimp the wires, you will need:- An 8-core LAN cable of the required length, preferably with a small reserve.
- Connectors (two RJ45 connectors are enough to crimp one cable).
- A special tool for crimping the cable (crimper).
There are two methods of crimping a network cable:
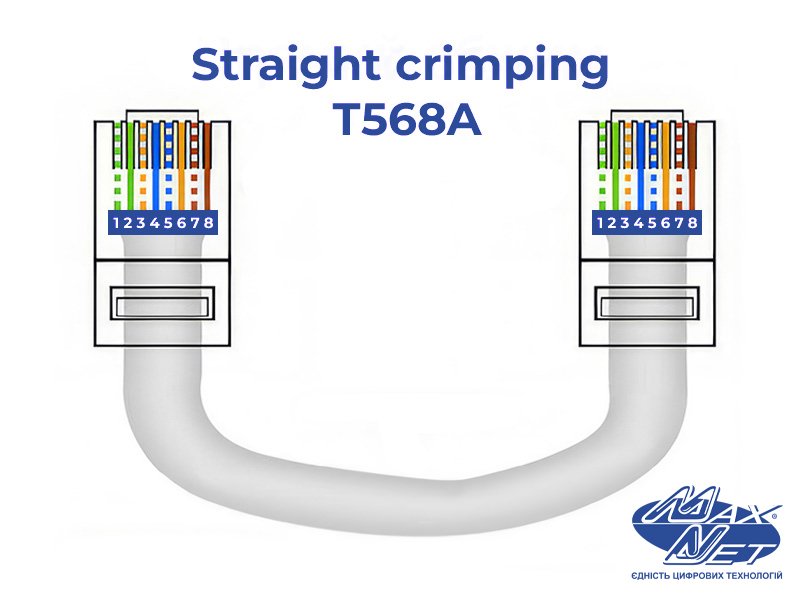
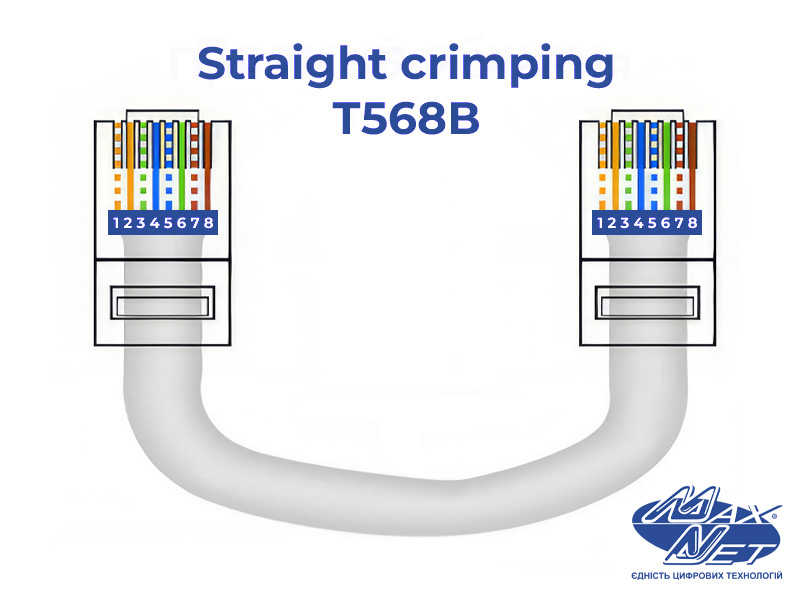
- Straight. This is the most common option, which is used to connect different devices in different combinations: router or switch with a computer, TV with router, etc. The straight method involves the same arrangement of wires in the contacts of both connectors.
You can crimp a straight twisted pair using one of the two existing standards: T568A or T568B. The colours of the network cable crimping can be seen in the schemes below.
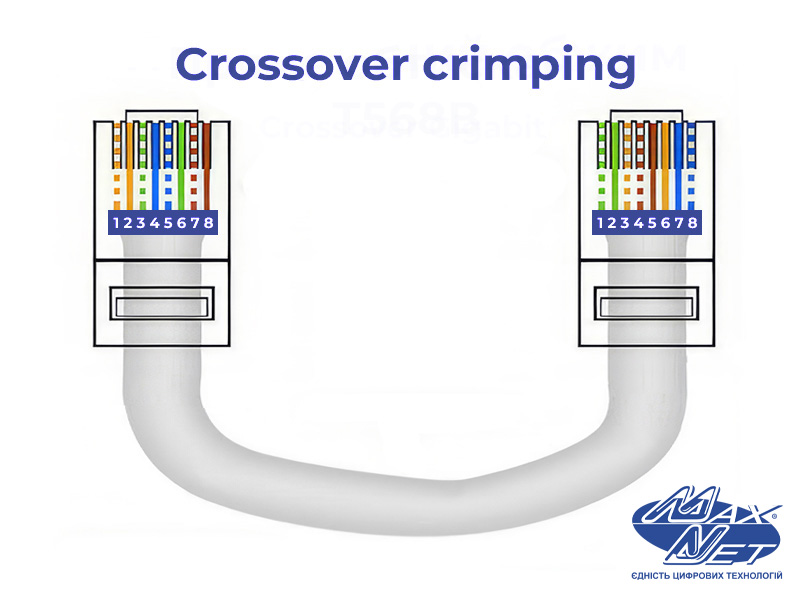
- Cross-over (crossover). This method is suitable if you need to connect devices of the same type with the cable: two computers, two routers, etc. In the cross-over variant the colours of the twisted pair pinout are used as in direct connection, and at the other end the colour pairs are swapped.
Therefore, you choose the LAN wire crimping variant you need and you can get to work:
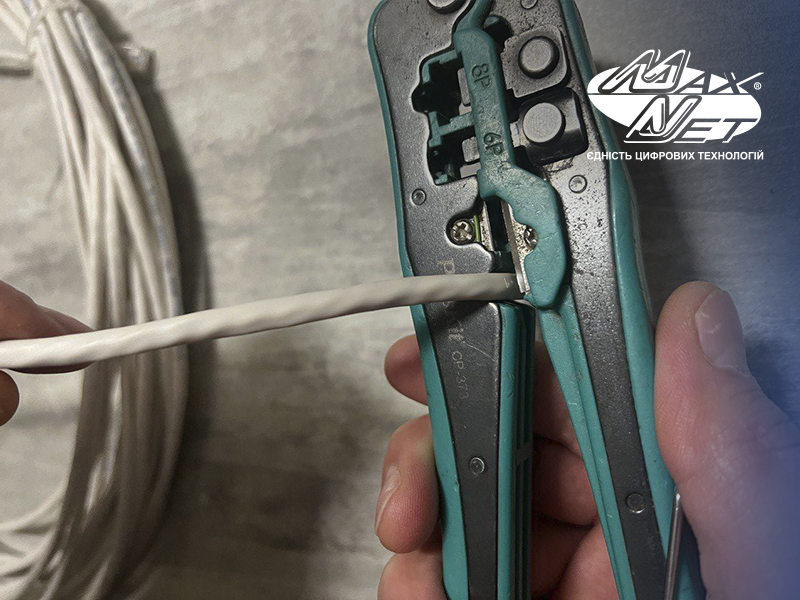
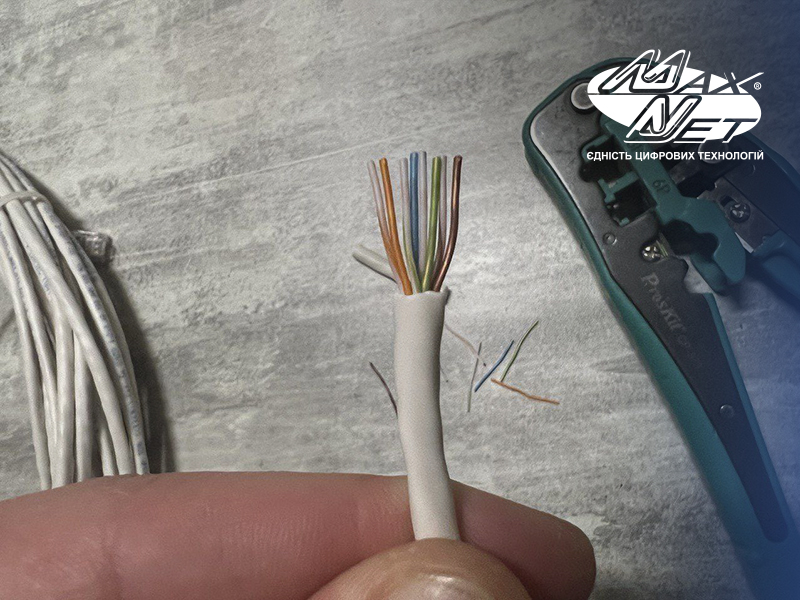
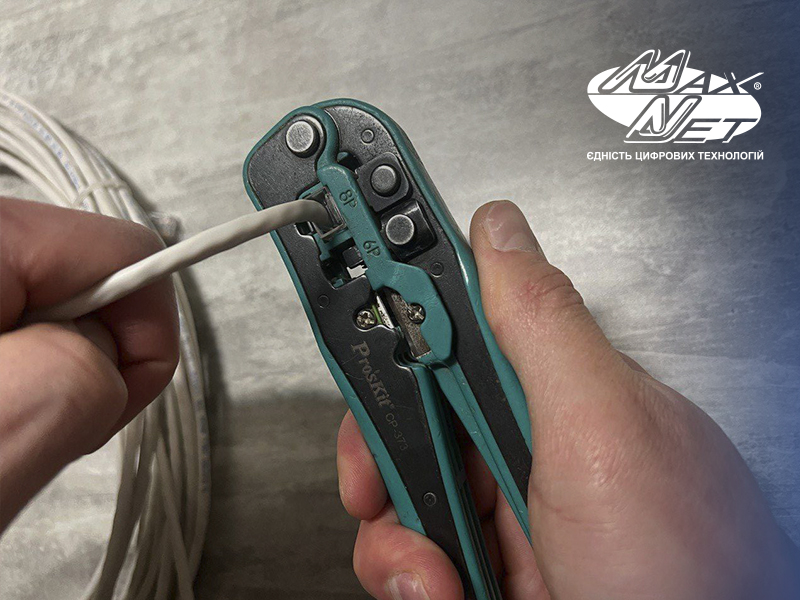
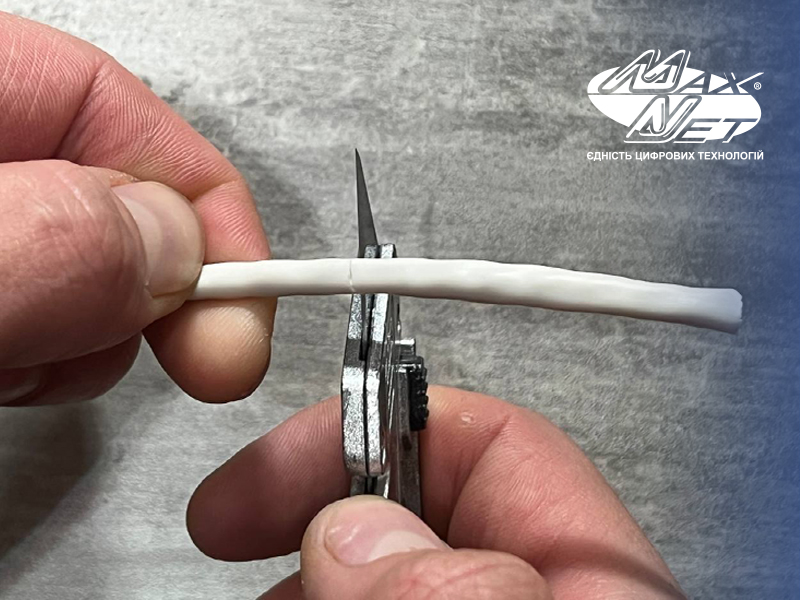
- First of all, remove the upper insulation from the cable. To do this, cut it off at a distance of about 2 cm from the beginning of the cable. Using a crimper, place the cable in the special hole and twist the crimper around the cable to make the desired cut. Then pull the white insulation off the cable.
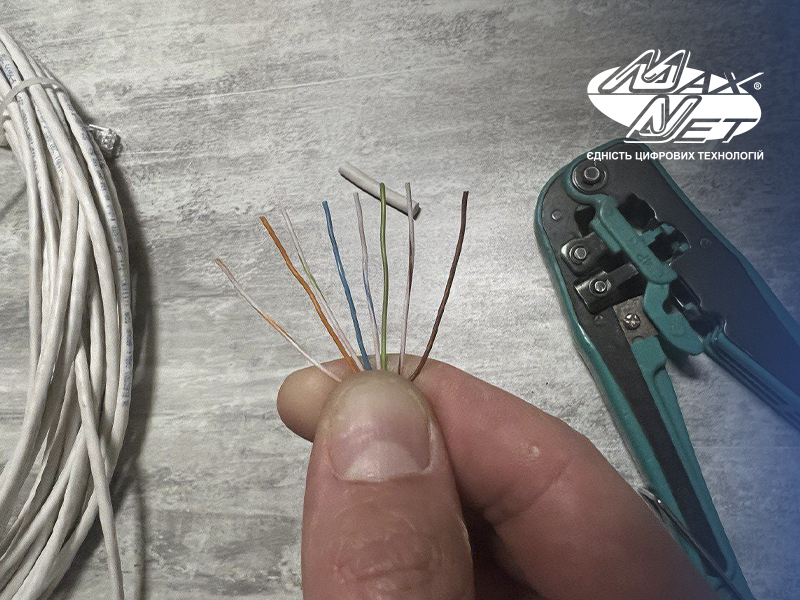
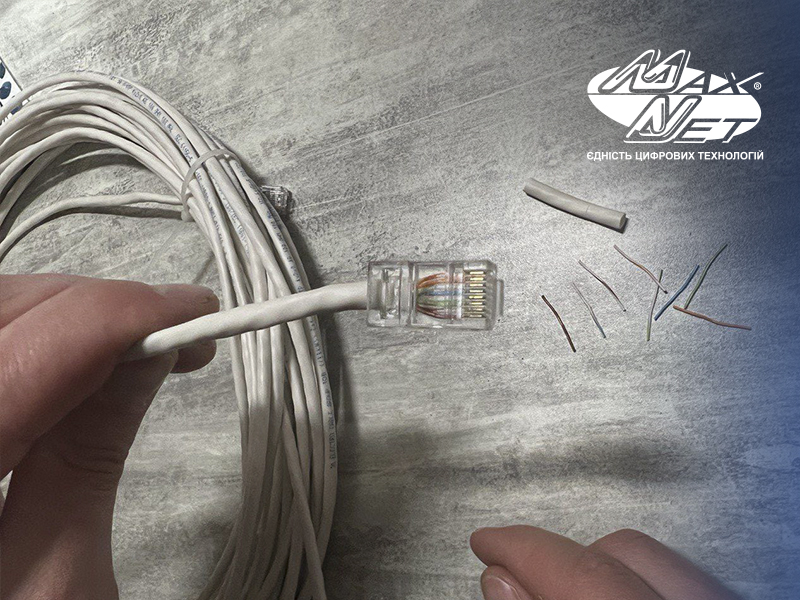
- Now you have 4 pairs of wires (8 strands) and a string, which you can cut off unnecessarily.
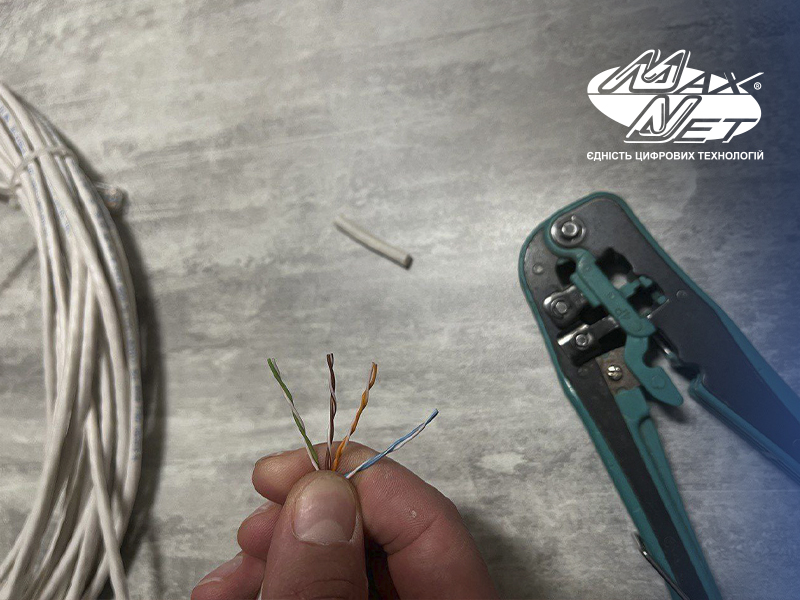
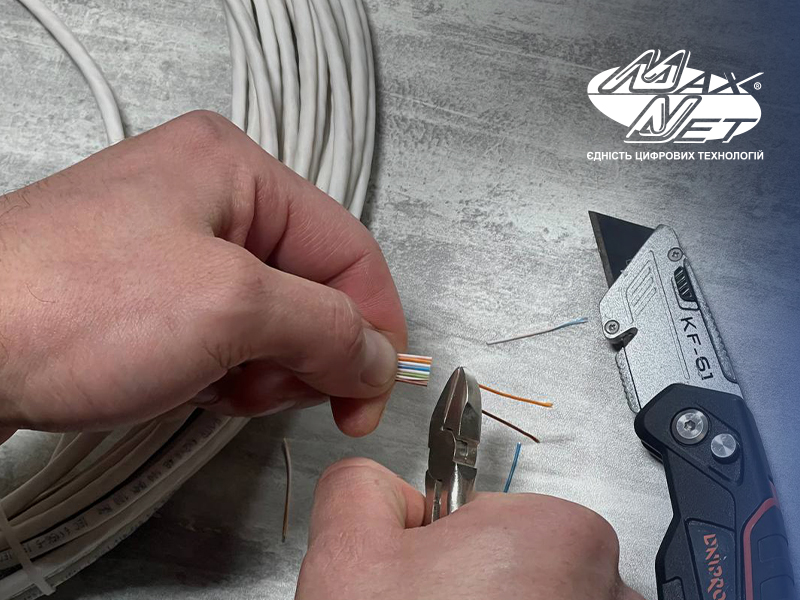
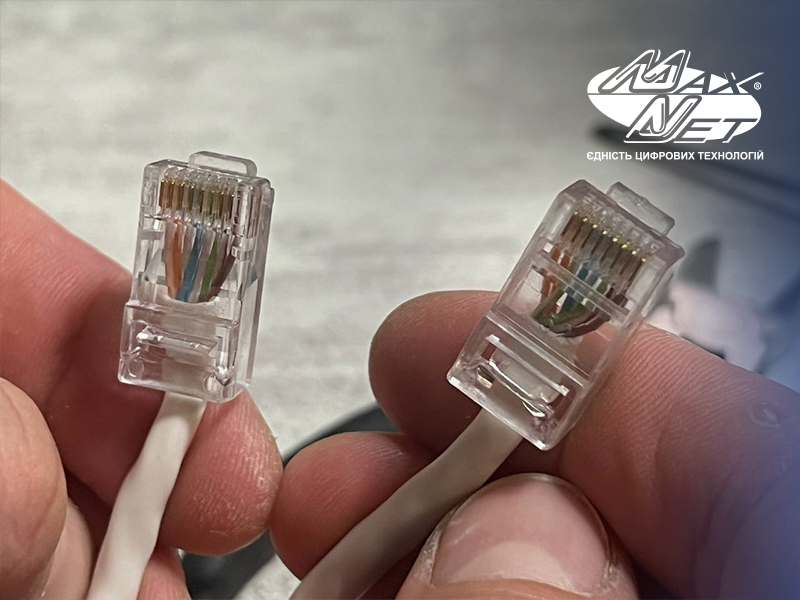
- Untwist the 4 pairs of wires so that they are one at a time. Then clamp them with your fingers and arrange them in the desired order, which depends on the type of cable.
- If the wires are too long, you can trim them a little more.
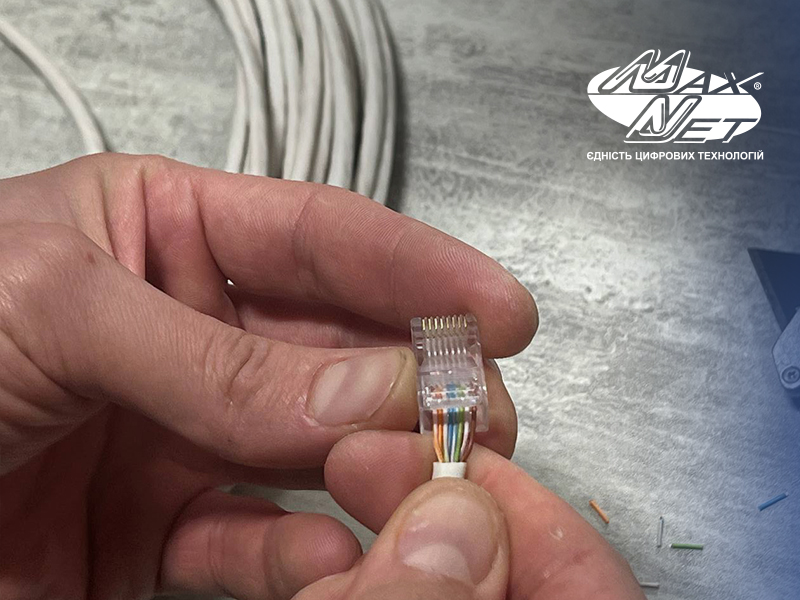
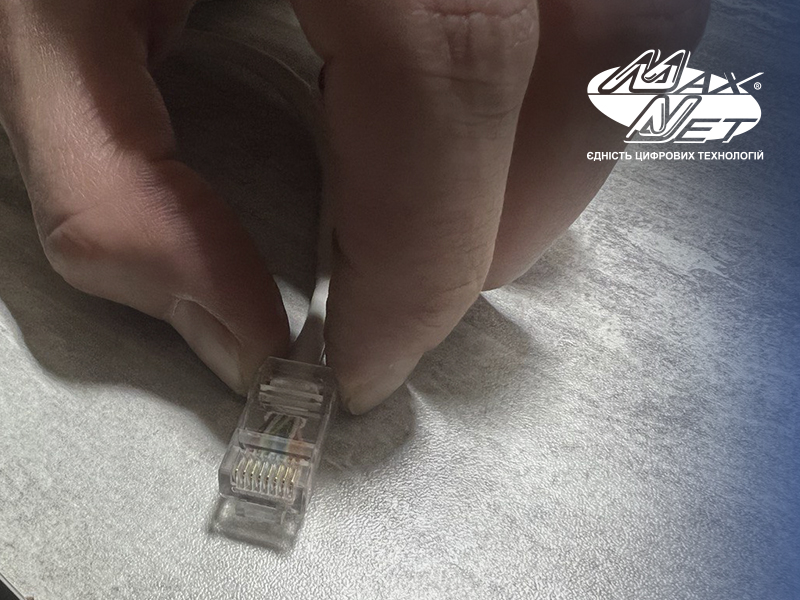
- Then slowly and carefully insert them into the connector, each core into its own hole. Make sure all the wires are properly connected to the connector, then insert it into the crimper and squeeze the handle.
Done. To check if you were able to crimp the RJ45 connector properly, plug the patch cord into the appropriate location. If all devices work, congratulations, you have done it.
How to crimp a connector with a screwdriver
There is another way to crimp the connector — without tools, using an ordinary flat-blade screwdriver. You will also need a knife for the job.
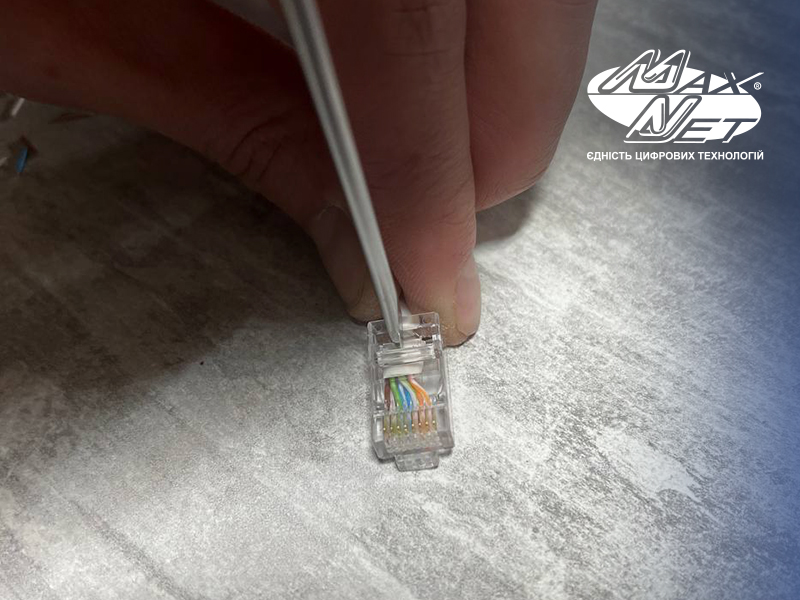
- First, straighten and untwist the wires and assemble the "package" according to the diagram. Before inserting the wires into the connector, cut them to the correct length using a knife.
- Insert the ends of the wires into the connector.
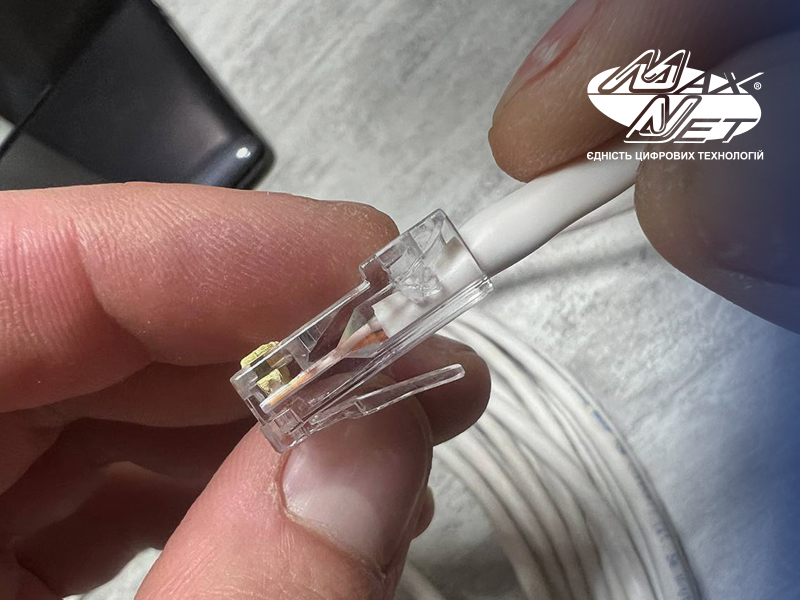
- Now fix the strip near the shank of the connector so that the cable doesn’t fall out of the connector during operation.
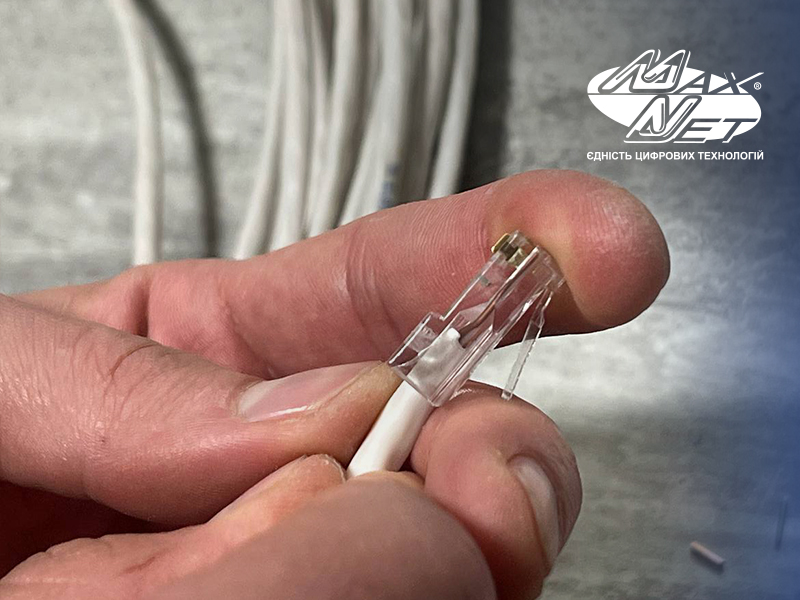
- The next step is to rest the connector on a rigid base, and then press the lock with a screwdriver (be careful not to break the plastic latch on the connector).
- As a result of correctly performed actions, the bar moves downwards and is locked in the lower position.
- You can then proceed to crimp the contacts. First ensure that the connector is resting on a rigid base and use a screwdriver to gradually push the contacts downwards. Then place the screwdriver on the metal contact and carefully move it down to the stop so that it pierces the insulation of the wire and presses into it a little. Do the same with all 8 contacts.
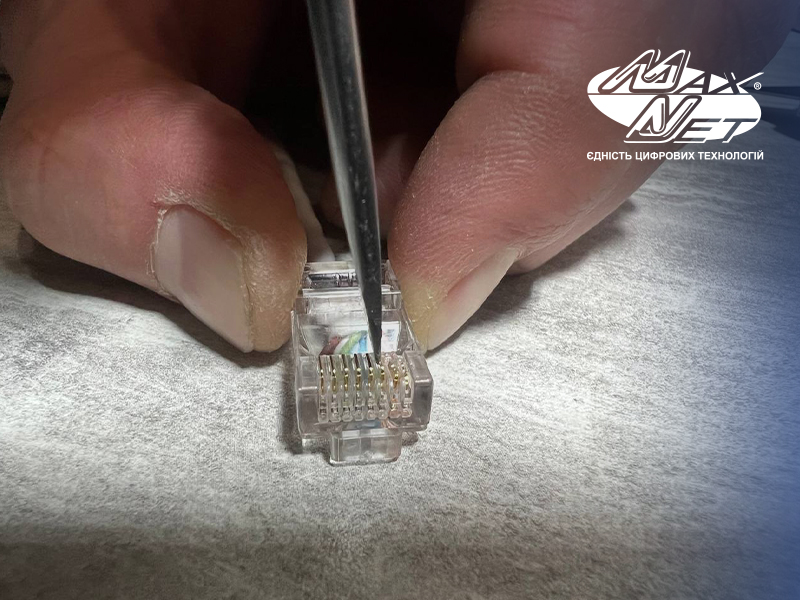
- Check that all contacts are pressed against the stop at the same level.
- Crimp the mains connector on the other side in the same way.
Crimping the connector with a screwdriver is more complicated than the option using a special tool. But it is worth using this method when the first one is not available. Even if it doesn't work perfectly the first time, with practice you will succeed.
More comments


Телесик
15.12.2025
0
0
Reply
Макснет
22.12.2025
0
0
Reply
Алекс
13.01.2025
2
0
Reply
Володимир
20.03.2024
3
0
Reply
Макснет
20.03.2024
2
0
Reply
Тарас
02.03.2024
5
1
Reply
Дмитро
02.03.2024
1
0
Reply