
Bought a new router that is more powerful? Do not rush to throw away the old one, there will be a good use for it in a large home network. Today we will tell you how to configure a router to work as a switch.
Why is it needed
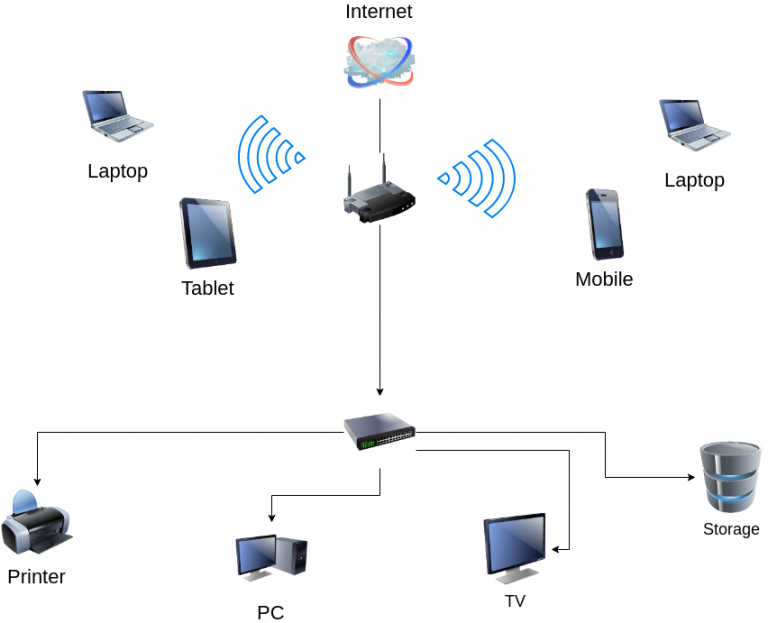
Last week we brushed up your networking knowledge so you already know the differences between a switch and a router and remember their alternate names. The functions of the router allow you to configure it as a switch in order to organize a local network. This may be relevant for connecting computers, a SIP phone, a SMART TV and home storage in a lack of ports or for organizing a local area network in the office.
Many users are faced with situations where the router’s optimal location as a Wi-Fi signal source does not match the location of other devices that need to be connected to it with a cable. For example, the router is in the living room, and in other rooms the signal level is optimal. The computer and other equipment are in the office, and if the router is in the same place, the signal will not reach, for example, the kitchen. It will not be aesthetically pleasing to bring a lot of wires to the router from the next room, so you can only connect a switch to the router, which will be installed next to the equipment. In order not to buy a switch, you can «entrust» its functions to an old router.
Setting process
First you need to connect a computer or laptop to the LAN port of our newly made switch and go to the settings.
First, look in the settings of the router for the item «Operating mode». If there is one, you need to select the option «Use as a switch or gateway».
To avoid an IP address conflict, you must assign an address different from the router's address (192.168.0.1). Instead, you can write any subsequent address, for example 192.168.0.2. To do this, go to the «Network» menu, go to the «Local Network» tab, enter a new value in the IP address field and save the changes. In the same menu, in the «WAN» item opposite «IP», write the address from another subnet (for example, 192.168.7.7).
Next, you need to disable the DHCP server (since the main router is used as it). To do this, you need to find the «DHCP» item in the settings menu and select the «Disable» state.
The next step is to disable the «Wi-Fi» feature. Go to the «Wireless Mode» menu and deactivate the wireless broadcasting function of the router.
The next step is to disable DDNS. To do this, you need to find «Dynamic DDNS» in the menu and uncheck the box next to «Enable DDNS».
It is also necessary to disable the Firewall (or firewall). It's in the «Security» menu. Finally, make sure port forwarding is disabled.
After tuning the new settings, reboot the future switch and connect it to the router (LAN port of the router to any switch port) and devices.
Everything is ready, you can use your advanced home network.
More comments


Володимир
03.01.2023
3
0
Reply
Евгений
06.01.2023
4
0
Reply
Сергей
03.02.2023
1
0
Reply